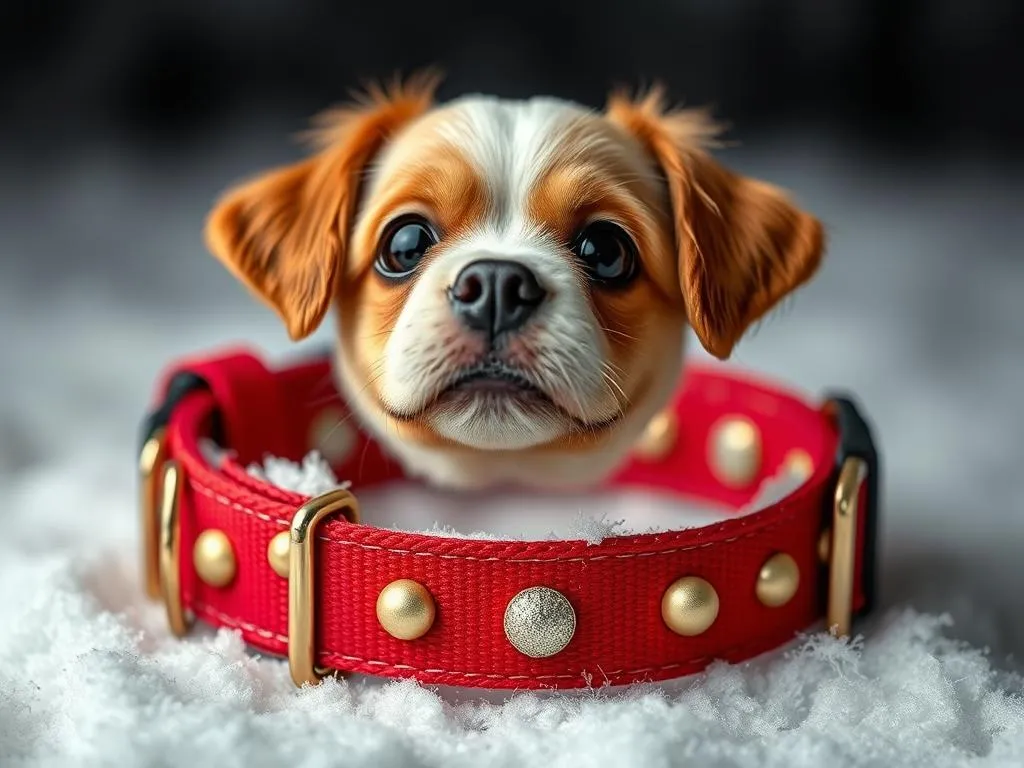
The holiday season brings joy, warmth, and festive cheer, not just for humans, but for our furry friends as well. As pet owners, we love to include our dogs in the celebrations, and what better way to do so than with DIY Christmas dog collars? Crafting your own collars can be a fun and fulfilling experience, allowing you to express creativity while adding a personal touch to your pet’s holiday attire. Let’s dive into why making your own collars can be a fantastic choice this Christmas.
Why DIY Christmas Dog Collars?
Personalization
One of the most significant advantages of creating DIY Christmas dog collars is the opportunity for personalization. Dogs, just like their owners, have unique personalities that can be reflected in their accessories. Whether your pup is playful, elegant, or quirky, making a collar allows you to incorporate their favorite colors, patterns, and themes. Imagine a collar adorned with snowflakes for a playful pup or one with elegant red and gold accents for a more refined character. The possibilities are endless when you take the DIY approach!
Cost-Effectiveness
In today’s economy, pet owners often look for ways to save money without compromising quality. Store-bought collars, especially those with holiday themes, can be pricey. By opting for DIY Christmas dog collars, you can achieve a similar look for a fraction of the cost. Many materials needed for these projects are inexpensive and can be sourced from craft stores or even repurposed from your home. With a little creativity, you can make beautiful collars that won’t break the bank.
Quality Control
When you make your own collars, you have complete control over the materials used. This ensures that only high-quality, durable fabrics are chosen, which is particularly important for your dog’s comfort and safety. You can select pet-safe materials that are non-toxic and strong enough to withstand your dog’s playful antics. Additionally, building a collar that fits well means fewer worries about wear and tear, giving you peace of mind throughout the holiday season.
Materials Needed
Essential Supplies
To get started on your DIY Christmas dog collars, you’ll need some basic materials. Here’s a list of essentials:
- Fabric: Choose festive colors and patterns. Cotton and fleece are great options for comfort and durability.
- Collar Base: You can either purchase a plain collar to decorate or create one from scratch using sturdy webbing.
- Sewing Kit: Thread, needles, and scissors are necessary for assembly.
- Measuring Tape: For accurately measuring your dog’s neck.
These materials can be easily found at local craft stores or online retailers, making it accessible for anyone to start their DIY journey.
Optional Decorative Items
To truly make your collar festive, consider adding some decorative embellishments:
- Bells: Add a jingle to your dog’s collar for that extra holiday spirit.
- Ribbons: Use seasonal colors to create bows or accents.
- Patches: Holiday-themed patches, like snowmen or Christmas trees, can add a whimsical touch.
Incorporating these decorative items not only enhances the collar’s appearance but also allows for creativity and fun while crafting.
Step-by-Step Guide to Making a DIY Christmas Dog Collar
Choosing the Right Size
Before you start crafting, it’s essential to measure your dog’s neck properly. Use a measuring tape to find the circumference of the neck and ensure it’s snug but not too tight. A good rule of thumb is to be able to fit two fingers comfortably underneath the collar. If you’re making adjustments to the size, consider adding a bit of extra length to accommodate for growth or layering with winter sweaters.
Designing the Collar
Having a design plan in mind can make the crafting process more enjoyable. Sketch out your ideas, considering colors and patterns that reflect the festive spirit and your dog’s unique style. For example, traditional red and green can be combined with fun patterns like candy canes or holiday lights. Make sure to balance bold colors with subtle accents to create a visually appealing collar.
Assembly Instructions
Now it’s time to put your plan into action! Here’s a step-by-step guide for creating your DIY Christmas dog collar:
Cutting the Fabric
- Measure and cut a piece of fabric that is about twice the width you desire for the collar and long enough to wrap around the collar base.
- Don’t forget to leave some extra fabric for seams.
Sewing the Collar
- Fold the fabric in half, right sides together, and sew along the edge, leaving one end open.
- Turn the fabric inside out, so the seams are hidden.
- Press the collar flat for a neater finish.
Attaching Hardware
- If using a collar base, you can attach the fabric sleeve to it using a sturdy stitch.
- For a collar made from scratch, sew on the D-ring and buckle securely at the open end to ensure it’s strong enough to hold your dog’s tags and leash.
Adding Decorations
- Now comes the fun part! Sew on the embellishments, whether it’s a festive patch or a bow.
- Ensure that all decorations are securely attached and will not pose a choking hazard.
Final Touches
Once your collar is assembled, it’s crucial to ensure its safety and comfort. Check for any loose threads or decorations that might come off during wear. Additionally, consider washing the collar before your dog wears it, especially if you used new fabric. Regular cleaning will help maintain its appearance and hygiene.
Creative Ideas for Christmas Dog Collars
Themed Designs
Unleash your creativity by exploring various holiday themes for your DIY Christmas dog collars. Some fun ideas include:
- Santa Claus: Use red fabric with white fur trim for a jolly Santa look.
- Reindeer: Brown fabric with antler-shaped embellishments can create an adorable reindeer collar.
- Snowman: Light blue fabric decorated with white snowflakes is perfect for a winter wonderland theme.
Incorporating holiday colors like red, green, and gold can further enhance these themes, making your dog the star of the holiday festivities.
Matching Owner and Dog Styles
For the ultimate holiday spirit, consider creating matching accessories for yourself and your dog. A matching scarf for you and a collar for your dog can make for great family photos. This not only creates a cohesive look but also strengthens the bond between you and your pet as you celebrate the season together.
Safety Considerations
Material Safety
While crafting your DIY Christmas dog collars, it’s essential to prioritize safety. Always select non-toxic and pet-safe materials to avoid any health risks. Avoid small decorations that could become choking hazards if they come loose. A collar should always enhance your dog’s safety, not compromise it.
Regular Inspection
Once your collar is completed, regular inspections are crucial. Examine the collar for any signs of wear and tear, particularly around the seams and where the hardware is attached. If you notice any fraying or loose parts, it’s time to replace the collar. Keeping an eye on your dog’s accessories ensures they remain safe and comfortable during the holiday celebrations.
Conclusion
Creating DIY Christmas dog collars is a wonderful way to celebrate the holiday season while expressing your creativity. From personalization and cost-effectiveness to the joy of crafting, there are countless benefits to making your own collars. This holiday season, why not get crafty and share your unique creations with fellow pet owners? Whether you opt for a classic design or a whimsical theme, your dog will surely appreciate the love and effort you put into their festive attire. Happy crafting!


