
Introduction
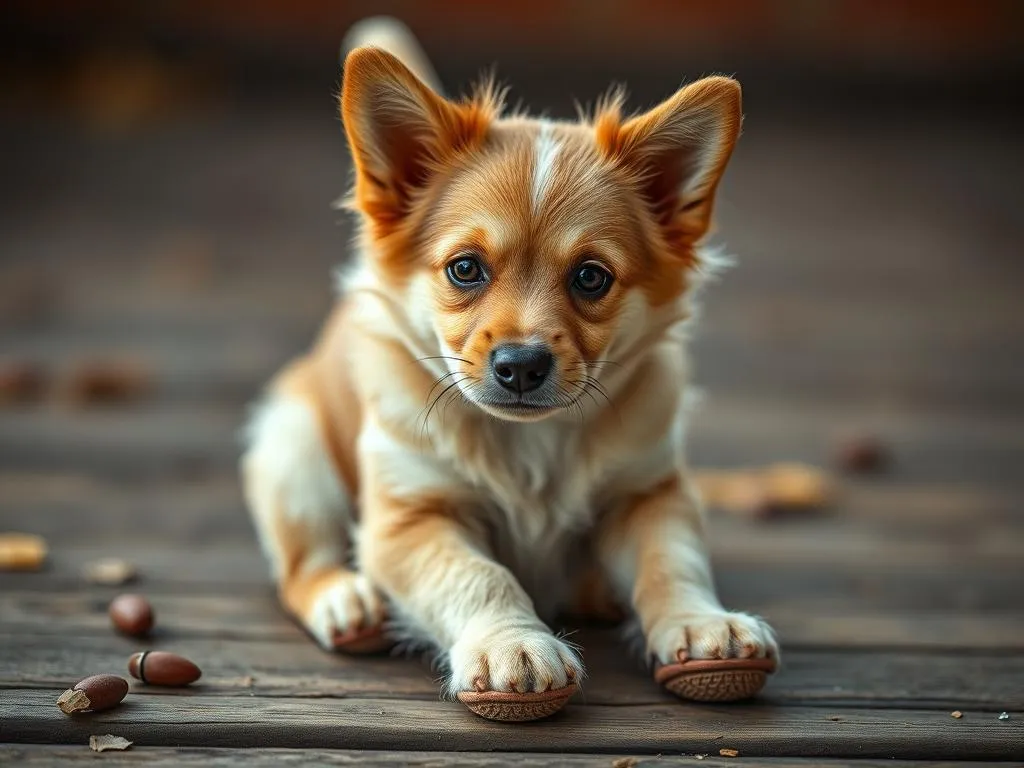
As loving pet owners, we always want to ensure the safety and comfort of our furry friends. One essential aspect of their well-being is protecting their paws, especially when they face harsh environmental conditions or rough terrains. This is where the concept of DIY dog booties comes in.
Creating homemade booties not only serves the purpose of ensuring your dog’s paws are safe, but it also opens up a world of customization and creativity. DIY dog booties can be tailored to fit your dog’s size, style, and specific material needs, making them a practical and cost-effective alternative to store-bought options.
In this article, we will explore the necessity of dog booties, the materials needed to create them, a detailed step-by-step guide on making them, and tips for introducing them to your dog. Whether you’re a seasoned DIY enthusiast or a pet lover looking for practical solutions, this guide will help you get started on your journey to creating the perfect DIY dog booties.
Understanding the Need for Dog Booties
Why Protect Your Dog’s Paws?
Our dogs’ paws are often subjected to various environmental factors that can cause discomfort or injury. During hot summer months, pavement can reach scorching temperatures, leading to burns. In winter, snow, ice, and road salt can irritate their delicate paw pads.
Moreover, dogs are naturally curious creatures, often wandering on rough terrains where they can easily cut or scrape their paws. Therefore, protecting your dog’s paws is crucial for their overall health and happiness.
Signs Your Dog Needs Booties
Being attentive to your dog’s behavior can alert you when they need protection. Common indicators include:
- Lifting paws: If your dog frequently lifts their paws while walking, it may indicate discomfort.
- Limping: A sudden change in their walking pattern can signal an injury.
- Avoiding certain surfaces: If your dog hesitates to walk on hot pavement, snow, or rough terrain, it’s time to consider booties.
Additionally, harsh weather conditions are a clear sign that your dog may need booties.
Materials Needed for DIY Dog Booties
Essential Materials
Creating your own DIY dog booties requires a few essential materials. Here’s what you’ll need:
- Fabric Options:
- Neoprene: Waterproof and durable, ideal for wet conditions.
- Fleece: Soft and warm, perfect for colder climates.
- Canvas: Sturdy and breathable, suitable for various environments.
-
Rubber: Excellent for creating non-slip soles.
-
Fastening Mechanisms:
- Velcro: Easy to secure and adjust.
- Elastic Bands: Provides flexibility and a snug fit.
- Zippers: Offers a secure closure for more active dogs.
Tools Required
Aside from materials, you’ll need some basic tools to craft your booties:
- Sewing Supplies: A sewing machine, needle, and thread are essential for constructing the booties.
- Measurement Tools: A ruler or measuring tape and scissors will help you achieve accurate measurements and clean cuts.
Step-by-Step Guide to Making Dog Booties
Measuring Your Dog’s Paws
Accurate measurements are vital for creating booties that fit well. Follow these steps:
- Place your dog’s paw on a piece of paper. Make sure they are standing on a flat surface.
- Trace around the paw carefully, ensuring you capture the full shape.
- Measure the width and length of the traced paw outline using a ruler.
Choosing the Right Size
Once you have the measurements, refer to a size chart to determine the appropriate size for your dog. It’s important to account for any fur that may affect the fit, so consider measuring your dog’s paw with and without fur.
Crafting the Booties
Now that you have your measurements, it’s time to start crafting:
Design Options
You can choose different styles for your booties, such as:
- Slip-on: Easy to put on and take off.
- Wrap-around: Provides extra security, especially for active dogs.
Sewing Instructions
- Cut the fabric according to your measurements and desired design.
- Sew the edges of the fabric to create the shape of the bootie. Use a sewing machine for a more durable finish.
- Create a top flap if you’re using a wrap-around design to secure the bootie around the leg.
Adding Non-Slip Soles
Safety is paramount, especially for dogs that love to run and play. Adding non-slip soles can prevent accidents:
- Choose a rubber material for the soles for better grip.
- Cut the rubber to match the size of the booties.
- Sew or glue the rubber onto the bottom of each bootie, ensuring it is securely attached.
Customizing Your Dog Booties
Personalization Ideas
Your DIY dog booties can be as unique as your furry friend! Here are some ideas to consider:
- Color and Pattern Choices: Select vibrant colors or fun patterns to make your booties stand out.
- Adding Reflective Elements: If your dog enjoys nighttime walks, incorporating reflective fabric can enhance visibility.
Functional Customizations
To ensure maximum comfort and protection, consider these functional customizations:
- Weather-Proofing: Use waterproof fabric or apply a waterproofing spray to keep feet dry.
- Extra Padding: Adding soft padding inside the booties can provide additional comfort for your dog.
Tips for Introducing Booties to Your Dog
Gradual Introduction
Introducing your dog to their new booties should be a positive experience. Here are some techniques to help:
- Start Slowly: Allow your dog to sniff and explore the booties before putting them on.
- Short Wear Times: Begin with short periods of wear, gradually increasing the time as your dog becomes more comfortable.
Positive Reinforcement
Using positive reinforcement can make the process smoother:
- Rewards and Encouragement: Offer treats and praise when your dog successfully wears the booties.
- Fun Activities: Incorporate playtime or walks while wearing the booties to create positive associations.
Maintenance and Care for DIY Dog Booties
Cleaning Instructions
To keep your DIY dog booties in top condition, follow these cleaning tips:
- Washing: Hand wash or machine wash on a gentle cycle using mild detergent.
- Drying: Air dry to prevent damage; avoid using a dryer as heat can warp the fabric.
Repairing Damage
Over time, your booties may experience wear and tear. Here are some common repairs:
- Sewing Up Holes: Use a needle and thread to mend small tears.
- Replacing Soles: If the non-slip soles wear out, simply cut new ones and attach them.
When to Replace Booties
Keep an eye out for signs that your dog needs new booties. If you notice significant wear, fraying, or if the fit becomes loose, it may be time to craft a new pair.
Conclusion
In summary, creating DIY dog booties is an excellent way to protect your furry friend’s paws while also allowing for customization and creativity. By understanding the need for paw protection, gathering the right materials, and following our detailed guide, you can make booties that cater specifically to your dog’s needs.
Don’t hesitate to embark on this engaging DIY project. Your dog will thank you for it, and you’ll feel a sense of accomplishment in providing them with the comfort and safety they deserve. Happy crafting!
Related posts:
 Best Flooring For Dogs
 Why Do Dogs Have To Be On A Leash
 Vapur Ez Lick Dog Water Bottle Review
 Top Dog Friendly Beaches In Minnesota
 How To Set Up A Dog Room
 Halloween Dog Names
 Is It Ok To Feed Stray Dogs
 Adopt A Senior Dog Month
 Going Back To The Office Heres How To Prepare Your Dog
 Best Bark Collars For Large Dogs