
Creating a DIY dog feeder can be a rewarding experience for pet owners looking to enhance their furry friends’ feeding routine. Not only do these feeders provide an opportunity for customization, but they also tackle common issues associated with store-bought options. By investing your time and creativity, you can craft feeders tailored to your dog’s size, breed, and eating habits.
Understanding the Need for DIY Dog Feeders
Benefits of DIY Dog Feeders
One significant advantage of DIY dog feeders is their cost-effectiveness. Store-bought feeders often come with hefty price tags, especially for specialized designs. By making your feeder, you can save money while ensuring that it meets your dog’s specific needs.
Customization is another key benefit. Different breeds and sizes of dogs have varying requirements when it comes to feeding. A DIY dog feeder allows you to design a feeding solution that accommodates your pet’s unique characteristics, such as height and eating style. For instance, larger breeds often benefit from elevated feeders that reduce strain on their necks, while smaller dogs might need something closer to the ground.
Finally, DIY feeders can enhance feeding habits. Many commercial feeders lead to overeating or messy feeding habits due to their design. With a DIY approach, you can create feeders that promote healthier eating patterns, such as slowing down the pace of eating or reducing spillage.
Common Issues with Commercial Feeders
Commercial feeders often come with limitations that can hinder your pet’s feeding experience. Many of them lack the adjustability needed for different dog behaviors, leading to issues like overeating or even food aggression. Additionally, standard feeders may not cater to specific health needs, such as allergies or dietary restrictions, which makes customization crucial.
Furthermore, many store-bought options are made from materials that can be harmful to pets or the environment. By creating your own feeder, you can choose safe, eco-friendly materials that align with your values and your pet’s health.
Materials and Tools Needed
Essential Materials
When embarking on your DIY dog feeder project, selecting the right materials is crucial. Here’s a list of recommended materials:
- Wood: Durable and easy to work with, making it a popular choice for feeders.
- Plastic Containers: These can serve as food bowls or storage.
- Stainless Steel Bowls: Ideal for food and water, as they are easy to clean and resistant to bacteria.
- Non-toxic Paint: For personalizing your feeder while ensuring safety for your pet.
For those looking to be eco-friendly, consider using reclaimed wood or repurposed materials to reduce waste.
Tools Required
Having the right tools will make your DIY dog feeder project smoother. Here’s an overview of the tools you may need:
- Saw: For cutting wood or plastic.
- Drill: Essential for creating holes for screws or bolts.
- Measuring Tape: To ensure proper dimensions.
- Screwdriver: For assembly.
- Sandpaper: For smoothing rough edges.
Always prioritize safety while using tools. Wear protective gear, such as goggles and gloves, and work in a well-ventilated area.
Types of DIY Dog Feeders
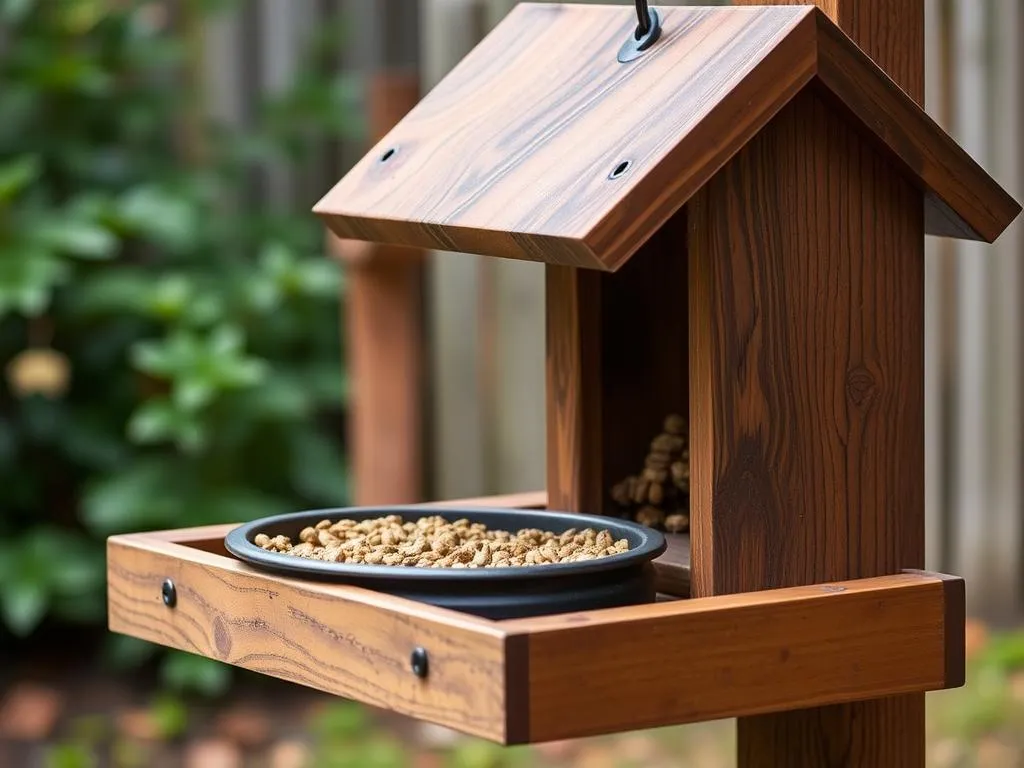
Elevated Feeders
Elevated feeders are particularly beneficial for larger breeds. They promote better posture during eating and can reduce strain on joints and muscles. Building an elevated feeder can be as simple as creating a wooden frame with adjustable heights.
Slow Feeders
Slow feeders are designed to prevent dogs from gobbling their food too quickly, which can lead to health issues. You can make a slow feeder using common household items, such as bowls with obstacles or even repurposed plastic containers with holes cut into them.
Puzzle Feeders
Puzzle feeders stimulate your dog mentally by encouraging problem-solving. These feeders often incorporate elements that require dogs to work for their food. You can create a puzzle feeder using items like cardboard boxes or plastic bottles filled with treats that your dog must figure out how to access.
Automatic Feeders
Automatic feeders are fantastic for busy pet owners, as they dispense food at scheduled intervals. Building a simple automatic feeder can be achieved with a timer and a storage container. This option is particularly useful for dogs that tend to overeat when food is left out.
Step-by-Step Guides for Popular DIY Dog Feeders
Elevated Feeder
Materials Needed:
- Wooden planks
- Screws
- Sandpaper
- Non-toxic paint (optional)
Construction Guide:
- Measure the height needed based on your dog’s size.
- Cut the wooden planks to create the base and sides.
- Assemble the frame using screws, ensuring stability.
- Sand down any rough edges to prevent splinters.
- Paint or finish as desired, allowing it to dry completely before use.
Slow Feeder Using PVC Pipe
Materials and Tools Needed:
- PVC pipe
- End caps
- Drill with a drill bit
- Measuring tape
Instructions:
- Measure and cut the PVC pipe to your desired length.
- Drill holes into the pipe, spaced out to allow food to fall through.
- Attach the end caps securely.
- Fill with kibble and let your dog enjoy the challenge of getting their food.
Puzzle Feeder Using Cardboard
Materials Needed:
- Cardboard boxes
- Scissors
- Non-toxic glue
Creative Design Ideas and Instructions:
- Cut the cardboard into various shapes and sizes.
- Glue pieces together to create compartments.
- Place treats or kibble inside the compartments.
- Encourage your dog to figure out how to access the food.
Automatic Feeder Using a Timer
Required Components:
- Food container
- Timer
- Dish for food
- Tube or funnel
Building Instructions:
- Set up the food container above the dish.
- Attach a tube or funnel that allows food to flow into the dish.
- Connect the timer to release food at scheduled intervals.
- Test the system to ensure it works properly before relying on it.
Personalization and Decoration
Painting and Finishing Options
Once you have built your DIY dog feeder, consider personalizing it with some paint or finish. Opt for safe paint choices that are non-toxic and pet-friendly. You can use colors that complement your home decor or even create fun patterns that reflect your dog’s personality.
Adding Personal Touches
Engravings or stickers can add a unique flair to your feeder. Consider incorporating your dog’s name or a fun design that showcases their character. Additionally, using dog-friendly themes, such as paw prints or bones, can make the feeder visually appealing.
Maintenance and Care for DIY Dog Feeders
Cleaning Tips
Keeping your DIY dog feeder hygienic is essential for your pet’s health. Here are some best practices:
- Regularly wash food and water bowls with hot, soapy water.
- Disinfect surfaces with pet-safe cleaners to prevent bacteria buildup.
- Inspect the feeder regularly for any signs of wear or damage.
Repair and Upkeep
Common issues with feeders include scratches, loose screws, or paint chipping. Address these promptly to maintain the integrity of the feeder. Seasonal maintenance, particularly during the rainy season, is also important to ensure that materials are not deteriorating due to moisture.
Conclusion
In summary, creating a DIY dog feeder not only saves money but also allows you to customize feeding solutions that cater to your dog’s unique needs. By making your own feeder, you can enhance your pet’s feeding experience, encourage healthier habits, and add a personal touch to your home.
So why not embark on this creative journey? Get out those tools, gather your materials, and start crafting the perfect feeding solution for your beloved pup. The joy of seeing your dog thrive with a personalized feeder makes all the effort worthwhile!
Related posts:
 Labrador Retriever Puppies For Sale Breeders In Indiana
 Dogs In Animated Films
 How To Dog Proof Christmas Tree
 Rhodesian Ridgeback Colors Patterns
 How To Tell Dog And Coyote Tracks Apart
 What Do Puppy Mills Do With Unsold Puppies
 Best Paddle Boards For Dogs
 Wag Dog Walker App
 Adorable Sheltie Haircuts
 How Accurate Are Dog Dna Tests