
Introduction
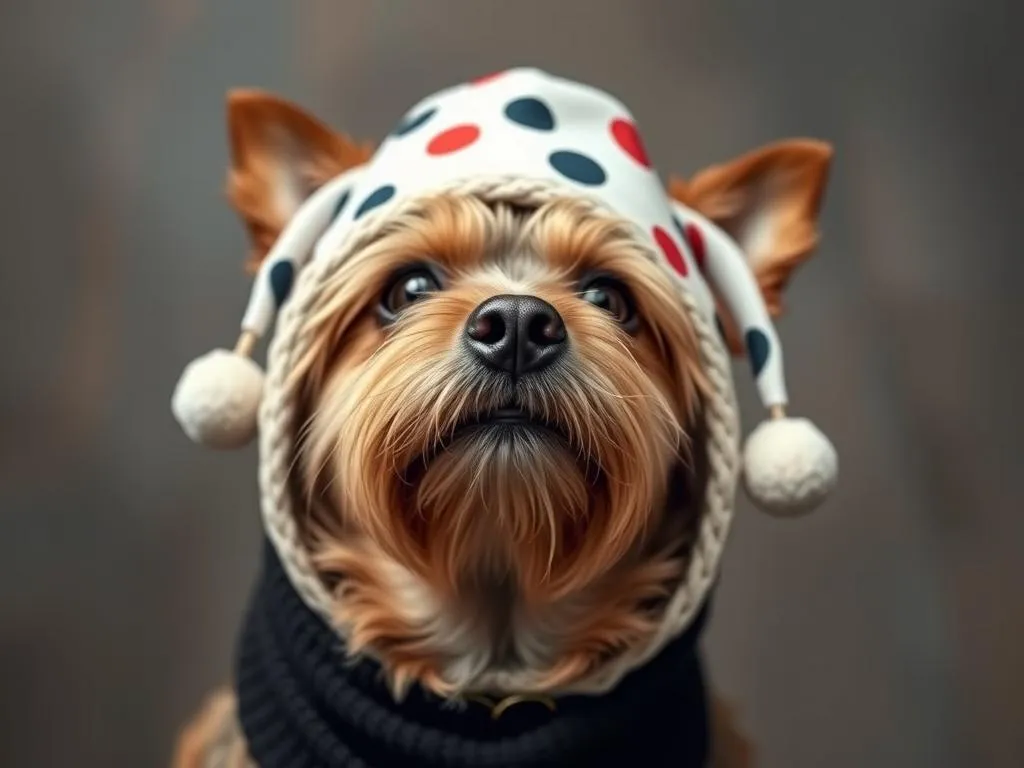
In recent years, the trend of DIY dog hats has gained immense popularity among pet owners and crafters alike. Not only do these hats serve a practical purpose, but they also offer a delightful way to showcase your dog’s personality and style. Whether you’re looking to protect your furry friend from the sun, keep them warm during colder months, or simply create a fun accessory for a special occasion, making your own dog hat can be a rewarding experience. This guide is designed to provide you with comprehensive instructions and inspiration to create unique, personalized hats for your beloved pet.
Benefits of DIY Dog Hats
Personalization
One of the most significant advantages of creating DIY dog hats is the level of personalization you can achieve. Unlike store-bought options, making your own hats allows you to customize the style and fit to suit your dog’s specific needs and personality. You can choose colors, patterns, and designs that reflect your dog’s character, making each hat truly one-of-a-kind.
Cost-Effectiveness
When it comes to cost, DIY dog hats often prove to be much more economical than purchasing ready-made options. By investing in basic materials and utilizing your creativity, you can save money in the long run. Many pet accessories can come with a hefty price tag, especially if you’re looking for something unique. With DIY, you can create multiple hats without breaking the bank.
Bonding Activity
Crafting your own dog hats provides a wonderful opportunity for bonding with your pet. The process of creating something special for your furry friend can be a fun family activity, promoting teamwork and creativity. Involving children or friends in the crafting process not only enhances the experience but also strengthens relationships.
Materials Needed
Basic Materials
Before you begin your DIY dog hats project, gather the necessary materials. Here’s a list of commonly used fabrics and essential tools:
- Fabrics:
- Felt
- Cotton
-
Fleece
-
Essential Tools:
- Scissors
- Thread
- Sewing machine (optional, but recommended for ease)
Optional Decorative Items
To make your hats even more special, consider adding decorative elements. Here are some ideas for embellishments:
- Ribbons
- Buttons
- Patches
When selecting decorative items, always keep safety in mind. Ensure that any embellishments are securely attached and won’t pose a choking hazard for your dog.
Types of DIY Dog Hats
Basic Cap Style
The classic cap style is a great starting point for those new to making DIY dog hats. This design is simple yet effective and can be made with minimal materials.
Sun Hats
Sun protection is crucial for dogs, especially those with short fur or sensitive skin. A floppy sun hat can provide shade and keep your dog comfortable during outdoor adventures.
Holiday or Themed Hats
Creating hats for special occasions can add a festive touch to any celebration. From Halloween to Christmas and even birthday parties, themed hats can bring joy and excitement to your pet’s wardrobe.
Functional Hats
Some dogs may require hats for specific purposes. Waterproof or insulated hats can protect against rain or cold weather, ensuring your dog remains comfortable in various conditions.
Step-by-Step Guide to Making a Basic DIY Dog Hat
Measuring Your Dog
Before you start crafting, it’s essential to measure your dog’s head accurately for the perfect fit. Use a flexible measuring tape to measure around the widest part of their head, just above the ears. Make sure to add a little extra room for comfort.
Choosing the Right Fabric
Selecting the right fabric is crucial for your hat’s functionality and comfort. Consider factors such as breathability, stretch, and durability. Materials like cotton and fleece are excellent choices, as they offer comfort while being easy to work with.
Cutting the Fabric
Once you have your measurements and fabric ready, it’s time to cut. Use templates or create your own design, ensuring you account for seam allowances. A simple pattern for a basic cap involves a circular top and a band that fits around the head.
Assembling the Hat
With your fabric cut, start assembling your DIY dog hat. Here’s a step-by-step sewing guide:
- Sew the Top Piece: Begin by sewing the edges of the circular top together.
- Attach the Band: Sew the band to the bottom of the top piece, ensuring it fits snugly around your dog’s head.
- Finish Edges: Hem the edges for a neat finish, and reinforce any seams that may be prone to wear.
Adding Embellishments
Once you’ve assembled the basic structure, it’s time to get creative! Consider adding embellishments like patches, ribbons, or even custom embroidery. Just make sure everything is securely attached to prevent any accidents.
Caring for Your DIY Dog Hats
Cleaning and Maintenance
To keep your DIY dog hats looking great, proper cleaning and maintenance is essential. Most fabric hats can be machine washed on a gentle cycle. Air dry or lay flat to maintain their shape. Always check the fabric care instructions before washing.
Storage Tips
When it comes to storage, maintaining the shape of your hats is key. Store them in a cool, dry place, preferably in a dedicated bin or on a shelf. Avoid stacking them too tightly to prevent deformation.
Conclusion
Creating DIY dog hats not only adds a unique flair to your pet’s style but also fosters creativity and bonding between you and your furry friend. Whether you choose to craft a simple cap, a themed hat for a special occasion, or a functional piece to protect against the elements, the joy of making something special for your dog is immeasurable. Share your creations on social media and inspire others to join in on the fun of DIY pet projects. Happy crafting!
Related posts:
 Why Is Dog Laying On My Stomach
 How Fast Can Australian Shepherds Run
 How Long Should I Play With My Dog
 Dog Names Starting With Z
 Off Leash Dog Parks In Portland Me
 Siberian Husky Names
 Off Leash Dog Parks In Vista Ca
 Dog Friendly Hiking Trails In Northern California
 Are Dogs Allowed In Disney World
 Who Gets The Dog In A Breakup