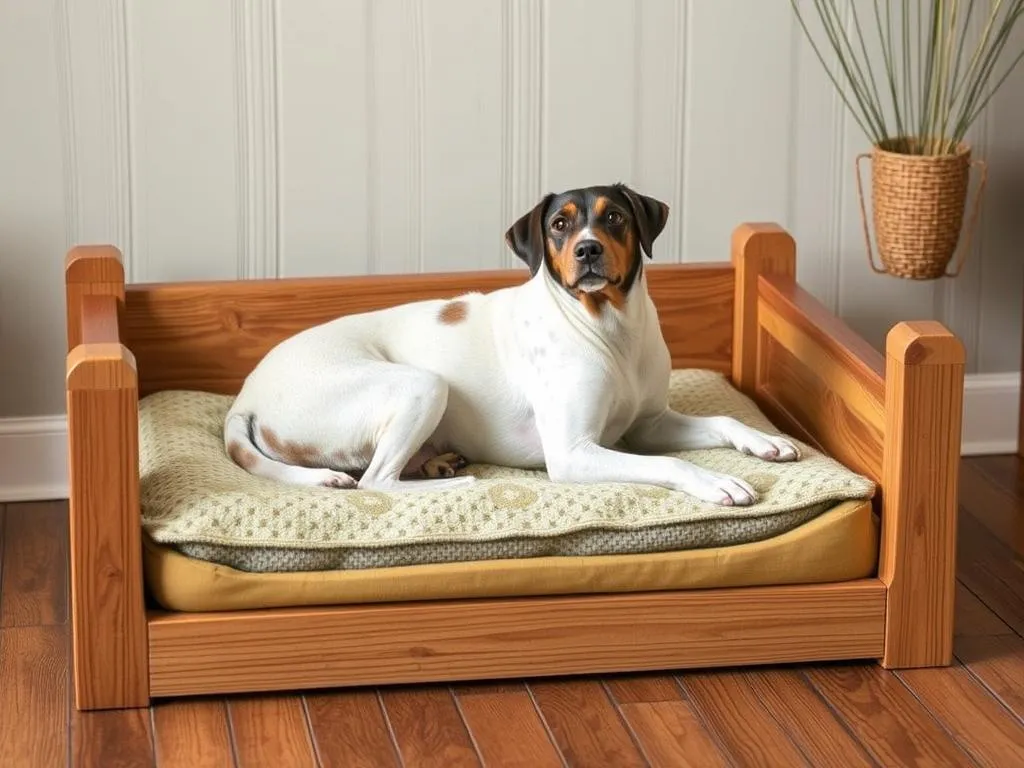
Creating a comfortable space for your furry friend is crucial. A well-designed dog bed not only provides a cozy retreat but also contributes to your pet’s overall health and happiness. Enter the world of DIY (Do It Yourself) dog beds, specifically diy wooden dog bed plans, which offer a unique blend of functionality, style, and personalization.
Understanding Your Dog’s Needs
Factors to Consider
Before embarking on your DIY journey, understanding your dog’s needs is paramount. Here are some factors to keep in mind:
-
Size of the Dog and Space Requirements: Measure your dog while they are lying down to determine the ideal dimensions of the bed. Ensure that the bed is spacious enough for them to stretch out comfortably.
-
Sleeping Habits and Preferred Sleeping Positions: Does your dog prefer curling up in a ball or stretching out? This will influence the design and shape of the bed.
-
Age and Health Considerations: Older dogs or those with joint issues may require orthopedic support. Consider a design that accommodates a thicker mattress or a more supportive structure.
Choosing the Right Materials
Selecting the right materials is crucial for the durability and safety of your dog bed. Here’s a quick overview of your options:
-
Types of Wood: Common choices include pine, plywood, and cedar. Pine is lightweight and affordable, while cedar has natural insect-repelling properties.
-
Untreated vs. Treated Wood: Untreated wood is safer for pets as it doesn’t contain harmful chemicals, but treated wood can be more durable against the elements if used outdoors.
-
Additional Materials: Stock up on screws, wood glue, and varnish for a polished finish. Ensure that all materials are pet-safe.
Planning Your DIY Wooden Dog Bed
Design Inspiration
When it comes to design, the possibilities are endless! Here are a few styles to consider:
-
Modern: Clean lines and minimalistic designs work well in contemporary homes.
-
Rustic: Use reclaimed wood for a charming, homey feel.
-
Minimalist: A simple box shape can be both stylish and functional.
Explore design boards online or visit home improvement stores for more inspiration.
Measuring and Sketching
Accurate measurements are key to a successful build. Here’s how to get started:
-
Measure Your Dog: Measure their length and width when lying down.
-
Sketch a Plan: Using graph paper, sketch the dimensions of your dog bed. Include details like height, width, and depth.
-
Tools Required: You’ll need a measuring tape, a pencil, and graph paper for this step.
Step-by-Step DIY Wooden Dog Bed Plans
Tools and Supplies Needed
Gather the following tools and supplies before starting your project:
Tools:
– Circular saw or jigsaw
– Drill
– Sandpaper (medium and fine grit)
– Measuring tape
– Level
Supplies:
– Wood planks (dimensions based on your design)
– Screws
– Wood glue
– Varnish or paint (optional)
Construction Steps
Building the Frame
-
Cutting the Wood: Based on your measurements, cut the wood pieces for the frame. Typically, you’ll need two long side pieces, two short end pieces, and a bottom base.
-
Assembling the Frame: Use wood glue and screws to assemble the frame. Start by attaching the long sides to the short ends, forming a rectangle.
-
Ensuring Sturdiness: Use a level to ensure that the frame is even and square. This is crucial for the durability of the bed.
Adding Legs and Base
-
Choosing Leg Styles: Decide on leg height. Shorter legs offer a more grounded look, while taller ones can provide storage underneath.
-
Attaching the Base: Securely attach the base to the frame using screws. Ensure it can support your dog’s weight.
-
Stability Tips: Reinforce the corners with additional wood pieces if necessary for increased stability.
Sanding and Finishing
-
Sanding: Use medium-grit sandpaper to smooth out any rough edges. This step is essential for your dog’s safety.
-
Choosing Finishes: Opt for non-toxic stains or paints. Sealants can help protect the wood from moisture and wear.
Adding Comfort Features
Once the frame is built, it’s time to think about comfort:
-
Mattress Options: Consider memory foam or orthopedic mattresses for added support. Ensure they fit snugly within the frame.
-
Removable Covers: Design the bed with a removable cover for easy washing. Use fabric that is durable and easy to clean.
Customization Options
Personalizing Your Dog Bed
Your dog bed can reflect your personality too! Here are some ideas:
-
Adding Your Dog’s Name: Use stencils or wood burning tools to personalize the bed with your dog’s name.
-
Decorative Elements: Incorporate decorative pillows or cushioned sides for added coziness.
Seasonal Adjustments
Your dog’s comfort needs may change with the seasons:
-
Winter Warmth: Consider adding a thicker mattress or blankets during colder months.
-
Removable Liners: Use removable liners that can be switched out based on the temperature.
Maintenance and Care
Cleaning the Dog Bed
Maintaining hygiene is essential for your pet’s health. Follow these best practices:
-
Regular Cleaning: Vacuum the bed weekly to remove hair and debris.
-
Best Products: Use pet-safe cleaners to wipe down surfaces. Avoid harsh chemicals that could irritate your dog’s skin.
Inspecting for Wear and Tear
Regular inspections can prolong the life of your dog bed:
-
Stability Checks: Periodically check for any loose screws or instability in the frame.
-
Signs of Wear: Look for signs that it’s time to repair or replace the bed, such as cracks, splinters, or sagging.
Conclusion
Building a diy wooden dog bed not only allows you to create a comfortable space for your pet but also gives you the freedom to tailor it to your home’s aesthetic. As you embark on this project, remember to consider your dog’s unique needs, from size to comfort. Your furry friend will surely appreciate the love and effort you put into crafting their very own sanctuary.
Feel free to share your own diy wooden dog bed plans or experiences in the comments! Your insights could inspire others to create a cozy spot for their beloved pets.


